

Replacing a Faucet in the Kitchen: DIY vs. Hiring a Plumber
A kitchen faucet gets used all day, from filling a coffee pot to rinsing dishes and washing fresh food. Once the handle becomes loose, the spout drips, or the finish starts to peel, a new fixture can make the sink easier to use and give the whole counter a cleaner look. Still, replacing faucet in kitchen areas isn’t always as simple as removing one fixture and tightening another.
In many cases, homeowners can finish the job with basic hand tools and a free afternoon. In other homes, rusted mounting nuts, aging shutoff valves, cramped cabinets, or mismatched supply lines can turn a small project into a wet mess. For that reason, the right choice depends on the condition of the plumbing, the type of faucet, and your comfort level with working under the sink.
Drake Plumbing helps homeowners make that choice without guesswork. A basic swap may suit a careful DIY approach, yet a worn plumbing setup often calls for professional plumbing installations or plumbing repairs.
What Does Replacing Faucet in Kitchen Work Include?
At first glance, learning how to replace faucet in kitchen sink areas looks fairly direct. The old faucet comes out, the new faucet goes in, and the water lines reconnect. In practice, each sink has its own layout, and the condition below the counter often decides how smooth the work will be.
For example, a standard faucet replacement may include shutting off the hot and cold water, disconnecting the supply lines, loosening the mounting hardware, cleaning the sink surface, setting the new fixture, reconnecting the lines, and checking every joint for leaks. A pull-down sprayer, side sprayer, touch-control unit, soap dispenser, or filtered-water connection can add more parts to the job.
Next, the installer has to check the sink’s hole pattern. Some sinks have one hole, and others have three or four. A deck plate may cover unused openings, but the new faucet still needs to match the sink and counter. At the same time, the supply line size and connection type must fit the shutoff valves.
This is where many quick projects slow down. The faucet may fit the top of the sink yet fail to connect cleanly below it. A plumber can spot those issues before the old fixture comes apart.
When Can Replacing Faucet in Kitchen Work as a DIY Project?
DIY can make sense when the plumbing below the sink remains in good shape and the new faucet closely matches the old setup. The cabinet should offer enough room to reach the mounting nuts, and both shutoff valves should turn fully without leaking.
In many cases, a homeowner may be a good fit for the job when these conditions apply:
- The existing connections look clean and easy to reach. Light surface dirt is normal, but heavy rust, green corrosion, cracked tubing, or damp cabinet wood points to a larger repair. In that case, removing the old faucet can disturb weak parts and start a leak.
- The shutoff valves work properly. Each valve should close the water flow and stay dry around the stem. If a valve keeps dripping or won’t turn, the water may need to be shut off at the main line before any work starts.
- The replacement faucet matches the sink. The hole count, deck thickness, supply connections, and sprayer setup should line up with the new model. A close match cuts down on extra fittings and last-minute store trips.
- The installer has the right tools and enough time. A basin wrench, adjustable wrench, bucket, towels, flashlight, plumber’s putty or approved sealant, and safety glasses may be needed. Rushing the work can lead to crossed threads, loose mounting hardware, or missed leaks.
Still, knowing how to change a faucet on paper doesn’t always prepare a homeowner for a frozen nut or damaged valve. Once a connection starts bending, cracking, or spinning in place, stopping the job can prevent a bigger repair.
What Steps Are Used When Replacing Faucet in Kitchen Fixtures?
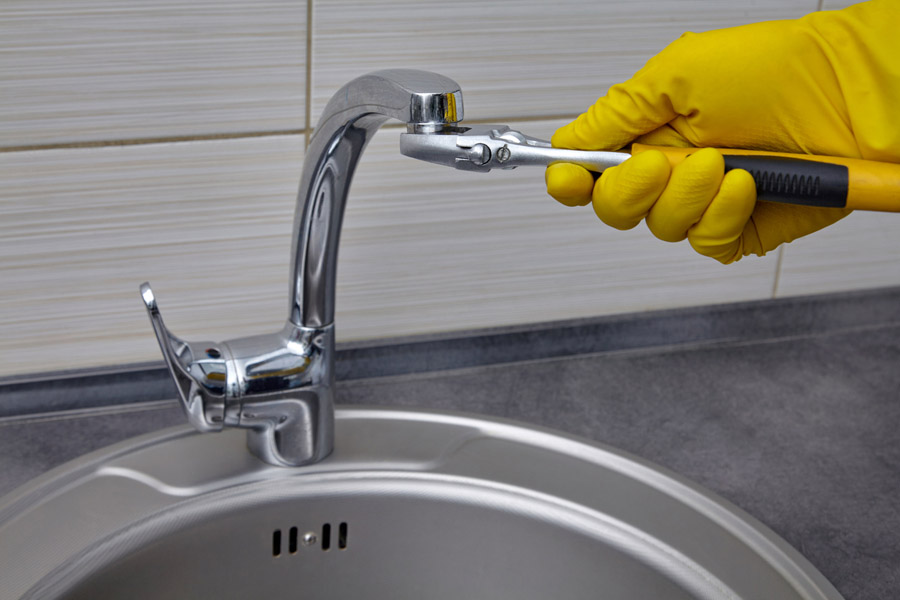
For a clean, accessible setup, these steps explain how to replace kitchen faucet fixtures at a basic level. Always follow the faucet maker’s instructions, since mounting parts and sealing methods can vary by model.
- Clear the cabinet and protect the work area. Remove cleaners, bins, and stored items from below the sink. Then, place towels and a shallow bucket under the water lines, since a small amount of water will remain in the tubes after the valves close.
- Shut off the hot and cold water. Turn both shutoff valves clockwise, then open the faucet to release pressure. If water keeps running, one or both valves may have failed, and the project should stop until the water can be controlled.
- Disconnect the supply lines. Use a wrench to loosen the line connections at the valves. Next, guide the loose ends into the bucket and check the tubing for cracks, stiffness, worn washers, or corrosion.
- Remove the old mounting hardware. Reach behind the sink basin and loosen the nuts or mounting bracket that hold the faucet in place. This step often causes the most trouble, since the space is tight and older hardware can seize.
- Lift out the old faucet and clean the surface. Remove old putty, mineral buildup, grease, and debris around the sink holes. From there, dry the surface so the new gasket or sealant can sit flat.
- Set and secure the new faucet. Feed the faucet lines through the correct opening, align the spout, and install the gasket, washer, bracket, or nuts listed in the maker’s directions. Tighten the fixture enough to stop movement, but don’t force plastic or thin metal parts.
- Reconnect the water lines. Attach the hot and cold supplies to the correct valves, keeping each line straight and free of sharp bends. Then, connect the sprayer hose, weight, or control box when the faucet includes those parts.
- Turn on the water and test the work. Open the valves slowly, run both hot and cold water, and wipe each connection with a dry paper towel. A new wet mark can reveal a slow leak that may be hard to see.
- Flush the faucet. Remove the aerator when the maker calls for it, then run the water to clear loose debris from the lines. Afterward, reinstall the aerator and test the spray settings.
If any fitting refuses to seal after a careful reset, repeated tightening can damage the threads. At that point, a plumber can find the cause and protect the cabinet from water damage.
What Problems Arise When Replacing a Faucet in Kitchen Fixtures?
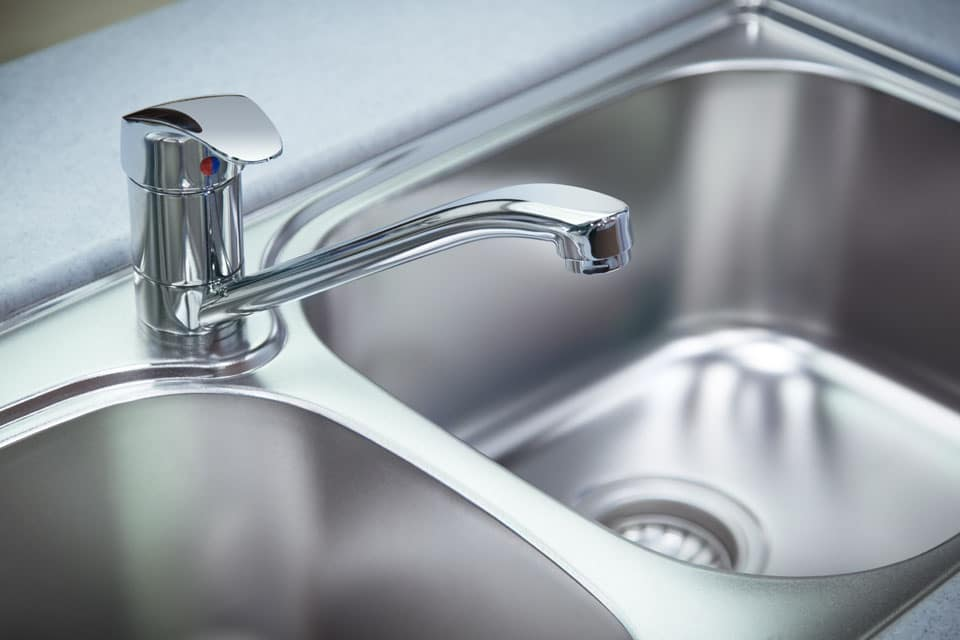
Even a straightforward faucet swap can reveal hidden issues beneath the sink that complicate the process.
Hidden Issues Beneath the Sink
In many homes, the hardest part of replacing faucet in kitchen cabinets often sits out of sight. The faucet on top may look simple, yet the parts below it can be old, corroded, or hard to reach.
Stuck or Failing Components
For example, one common problem is a shutoff valve that leaks after being moved for the first time in years. Along with that, another problem is a mounting nut that won’t loosen. In some sinks, the nut sits behind the basin where a standard wrench can’t turn. A faucet may use built-in supply lines that fall short of the existing valves.
Shifting Pipes and Hidden Leaks
Next, old pipes can shift as the supply lines come loose. That movement may open a weak joint farther back in the cabinet or wall. A slow drip can soak cabinet flooring before anyone notices it.
Sealant and Installation Errors
At the same time, sealant mistakes create another concern. Too much putty can squeeze into the sink opening, yet too little can let water seep below the faucet base. Some fixture makers require a gasket or silicone rather than plumber’s putty, so the printed directions matter.
Limited Workspace Challenges
Then there is the disposal, drain piping, and stored equipment below the sink. These parts can block access and make it hard to work with both hands. Drake Plumbing has the tools to remove stuck hardware, replace worn valves, fit new supply lines, and test the full setup before the job is finished.
When Should a Plumber Handle Replacing Faucet in Kitchen Fixtures?
For this reason, hiring a plumber makes sense when the faucet replacement touches more than the faucet itself. A professional visit can save the cabinet, counter, flooring, and nearby wall from a leak that stays hidden.
Call Drake Plumbing when:
- The shutoff valves leak, spin, or won’t close. These valves control the water during the job. A failed valve may need replacement before the faucet can come out safely.
- The cabinet shows signs of past water damage. Stains, swollen wood, mold-like growth, soft flooring, or a musty smell can point to an active or past leak. The source should be found before a new fixture covers the area.
- The old faucet hardware is badly rusted. Cutting or drilling may be needed when the mounting nut can’t be removed with normal hand tools. A plumber can do this without cracking the sink or damaging the counter.
- The new faucet changes the sink setup. Moving from a standard faucet to a touch-control model, filtered-water tap, wall-mounted fixture, pot filler, or multi-part setup may require added connections or electrical clearance.
- The pipes or supply lines look worn. Kinked tubing, brittle plastic, corroded copper, or mixed fittings can fail during the swap. Replacing weak parts at the same time can help prevent another service call.
For homes in the area, Drake Plumbing offers service from a plumber in St. Tammany Parish, including support from a plumber in Madisonville, LA, a plumber in Mandeville, LA, and a plumber in Covington, LA.
Is DIY Cheaper for Replacing Faucet in Kitchen Work?
A DIY job can cost less when everything goes smoothly. The homeowner pays for the faucet, supply lines, sealant, and any missing tools. If the old parts release easily and the new fixture matches, the savings may feel worthwhile.
Yet the final cost can climb after several trips for adapters, a basin wrench, new valves, or replacement tubing. A small leak can add cabinet repair, flooring work, or mold cleanup to the bill. For this reason, the lowest starting cost isn’t always the lowest final cost.
By comparison, professional plumbing installation includes more than labor. Drake Plumbing can inspect the shutoff valves, confirm the faucet fits, replace weak connectors, set the fixture firmly, and test the hot and cold lines. That service can be a better value for older homes, tight cabinets, expensive sinks, stone counters, and faucets with added controls.
In the end, the best choice comes down to risk. A newer sink with clean connections may suit DIY. An older setup with uncertain parts often calls for a plumber.
How Do You Pick a Fixture for Replacing Faucet in Kitchen Projects?
Before buying a fixture, check more than the style and finish. The new faucet has to fit the sink, work with the plumbing, and suit the way the kitchen gets used.
From there, start with the hole count and spacing. Then, measure the height around windows, shelves, and cabinets. A tall gooseneck spout may look great in the store but hit a low window ledge at home. Next, check the spout reach so the water lands near the center of the basin rather than against the back wall.
For example, pull-down sprayers work well for deep sinks and large pots. Pull-out sprayers may suit smaller sinks. Single-handle faucets save counter space, yet two-handle models give separate hot and cold control. Touch and motion units add ease, but batteries, control boxes, and wiring need room below the sink.
In turn, water use matters too. Homeowners can review the U.S. Environmental Protection Agency’s kitchen faucet guidance when comparing water-efficient models. A plumber can check the home’s water pressure and help match the fixture to the sink.
Where Does Drake Plumbing Offer Replacing Faucet in Kitchen Service?
Drake Plumbing serves homeowners across the Northshore and nearby communities. The full service area page lists current service locations.
Homeowners can request help from a plumber in Hammond, LA or a plumber in Ponchatoula, LA. Local service means the plumbing team can assess the faucet, the sink, and the nearby connections as one working setup rather than treating the fixture as a separate part.
Final Thoughts on Replacing Faucet in Kitchen Work
Replacing faucet in kitchen areas can be a reasonable DIY project when the valves work, the fittings remain clean, and the new model matches the sink. Yet a simple swap can uncover rust, leaking valves, weak tubing, or damaged connections.
For this reason, a plumber brings the right tools, checks the nearby plumbing, and tests the finished work for leaks. That added care can protect the sink cabinet and help the new faucet work the way it should from day one.
Contact Drake Plumbing for Replacing Faucet in Kitchen Service
Skip the sore back, stuck nuts, and surprise leaks. Drake Plumbing can remove the old fixture, install the new faucet, replace worn connections, and test the full setup.
Call (985) 703 0477 or visit the Drake Plumbing contact page to schedule kitchen faucet service.
Frequently Asked Questions About Replacing Faucet in Kitchen Work
How Long Does Replacing Faucet in Kitchen Work Take?
In many cases, a clean, standard replacement may take an experienced plumber a fairly short visit. Rusted hardware, failed valves, tight cabinet space, or added sprayer parts can extend the work. The best estimate comes after checking the sink and the connections below it.
Can Old Supply Lines Be Reused During Replacing Faucet in Kitchen Work?
At the same time, some lines may look usable, but age, corrosion, stiffness, and worn seals can raise the chance of a leak. New supply lines often make sense during a faucet swap, mainly when the old lines have been in place for years. Drake Plumbing can check the length, size, and condition before reconnecting anything.
Does Plumber’s Putty Go Under Every Fixture During Replacing Faucet in Kitchen Work?
No. Some faucets use a rubber or foam gasket, and some makers call for silicone. Certain sink materials may not work well with oil-based putty. Follow the fixture instructions, or ask a plumber to choose the right sealing method.
Can Replacing Faucet in Kitchen Fixtures Improve Low Water Flow?
It can when the old aerator or faucet body has mineral buildup. Still, low flow may come from clogged supply lines, partly closed valves, pressure trouble, or pipe buildup. A plumber can test the flow and find the source before replacing parts that may still work.
During Replacing Faucet in Kitchen Work, Should a Leaking Fixture Be Repaired or Replaced?
For example, a newer faucet with a worn cartridge, O-ring, or aerator may be worth repairing. An older faucet with corrosion, loose parts, a damaged finish, or hard-to-find components may be a better replacement candidate. Drake Plumbing can compare the repair cost with the price and service life of a new fixture.

